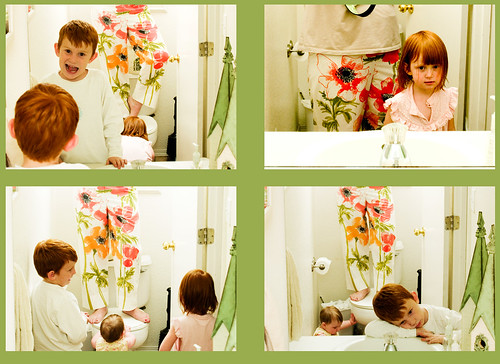
I tried to get a good pic of them finished. I got these funny ones instead (though I wasn't laughing at the time.)
Here's how to make them:
 I hate using patterns, and I suppose I've been sewing long enough (20+ years???) to know what I need to do, but even I made a mistake on these because I was in such a rush to get them done.
So what you want to do is find a pair of cotton PJ pants that fit comfy. Fold them in half vertically and pull that crotch out there. You'll want to leave about 2 inches above the pants on the pillow case to make the casing. You need to pull the waist out from where the fold is to make sure you make them big enough in the but and crotch. A little bigger is always better because you can easily alter them. Cut around your pj's at least 1 inch from the edge and make sure you use the biggest crotch seam on your PJs or else you'll end up with something a little tight like I did!
 This is what you will end up with. You can use your cut piece to cut your other leg on the other pillow case. I think I have enough left over to make a little pair for the babe.
 Put the 2 pieces right sides together and sew down each crotch about 5/8 inch from the edge.

"Open" the pants up so that you have the folds on the edges. Match up the crotch and bottom edges of the legs and sew up the inner leg about 5/8 inch from the edge. Make the casing for the elastic by folding over about 1/2 inch and then 1 more inch. Sew near the edge to make a casing...make sure you leave an opening to put elastic in.
Did you get all that? Fun pants huh?!


2 comments:
Four words - I freakin love you!!!! The storyboard is hilarious and I can't wait to make some pillowcase pants for myself:):)
Whoa -- those are incredibly awesome!
Post a Comment